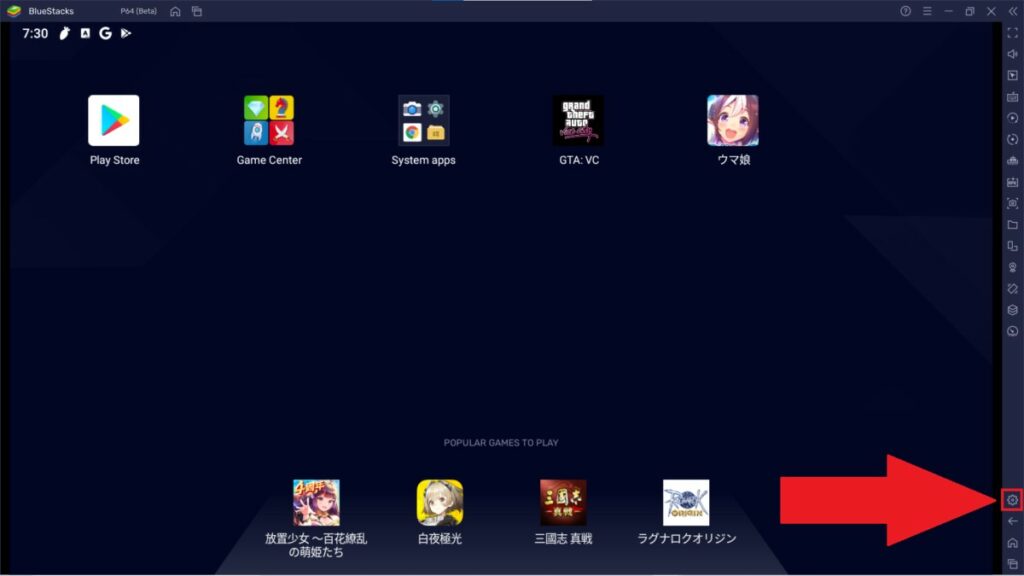
Bluestacks emulator is one of the best Android emulators for PC. This emulator allows users to run Google Play apps on their Windows PC and Mac devices. However, the emulator can be challenging to set up for beginners. So in this article, we will explain how to use the BlueStacks emulator on your PC.
What is the BlueStacks emulator?
BlueStacks is the mostpopular Android emulatorfor PCs. It is used mainly for gaming, allowing users to download apps from the Google Play Store. It also has another app store to download optimized apps. The BueStacks Android emulator is currently based on Android 7.1.2 (Nougat).
According to the website, macOS support for BlueStacks 5 is coming soon. Until then, Mac users can run Blustacks 4. The emulator’s basic functions are accessible, but you can pay a subscription fee for advanced optional features.

How to use the BlueStacks emulator?
1. Go tobluestacks.com.
2. Download the correct version of BlueStacks for your device.
Run the downloaded file and install BlueStacks.
Open BlueStacks and log in to yourGoogle Playaccount. b

5. Download the app you want to run.
- Adjust the app settings in the sidebar menu for a better experience.
BlueStacks emulator system requirements
How to update BlueStacks?
Open BlueStacks and go to the Settings menu.
Go to About and click on Check for updates.

3. SelectDownload updateto get the update file.
4. Run the downloaded file and click onUpdate.
5. BlueStacks will now update to the latest version.
How to uninstall the BlueStacks emulator?
If you have found analternative optionor are unsatisfied with the application, you can uninstall the BlueStacks emulator by following the steps below.
1. Go toSettings>Apps>Apps & Features.
2. Type in BlueStacks in the search bar.
Click on the application and selectUninstall.
Select a reason for uninstalling BlueStacks and click Uninstall.

Note: Make sure also to uninstall Bluestacks X.
